判定为UEFI设备
Surface Pro 2017
连接WIFI
wifi-menu设置时间同步
timedatectl set-ntp true设置分区
fdisk /dev/nvme0n1(以实际情况为主fdisk -l查看)
设置为gpt磁盘格式
EFI分区64M 建议:260–512 MiB(大概只能用到6M多一点不到7M)
/主分区剩下全部
格式化分区
格式化EFI分区
fdisk: Create a partition with partition type EFI System.
见WIKI:https://wiki.archlinux.org/index.php/EFI_system_partition
格式化主分区,这里使用ext4格式
mkfs.ext4 /dev/nvme0n1p2SWAP最后再用文件设置,可见我的另一篇博客
其实分区还是文件效果其实差不多的
而且文件还可以随时更改大小不像分区那样麻烦还得扩大缩小,搞不好数据都没了还得重装
挂载分区
mount /dev/nvme0n1p2 /mnt(挂载目录随意)
你说为啥p2先挂载,因为你的目录得要在/里面
mount /dev/nvme0n1p1 /mnt/efi(目录随意大小写随意,最后只需在Grub里面设置即可)
安装
更改镜像源地址
默认的源地址为源地址列表的第一个,而连接超时则再试第二个,所以会很慢,而且内置的中文源在好后面…
所以得换源
首先安装nano,不过好像有内置你想用vi或者vim也可以不过我个人感觉nano好用
nano /etc/pacman.d/mirrorlist在第几行([ ]标志的后面)那里加入
Server = http://mirrors.tuna.tsinghua.edu.cn/archlinux/$repo/os/$arch[archlinuxcn]
Server = http://mirrors.tuna.tsinghua.edu.cn/archlinuxcn/$arch或者
Server = http://mirrors.aliyun.com/archlinux/$repo/os/$arch[archlinuxcn]
Server = http://mirrors.aliyun.com/archlinuxcn/$arch或者
Server = http://mirrors.zju.edu.cn/archlinux/$repo/os/$arch[archlinuxcn]
Server = http://mirrors.zju.edu.cn/archlinuxcn/$archCtrl+O保存
Ctrl+X退出
安装基本包
注:安装时出现报错
1
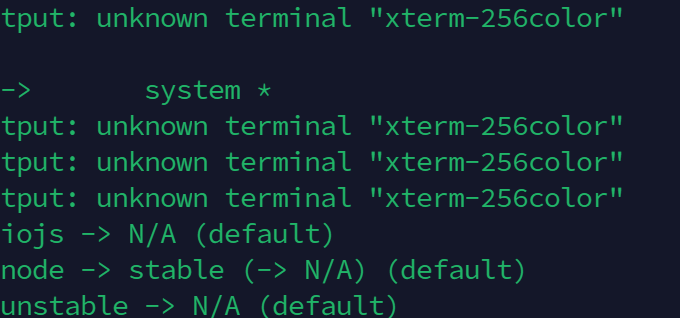
perl: warning: Setting locale failed.

perl: warning: Please check that your locale settings:
LANGUAGE = (unset),
LC_ALL = (unset),
LANG = "en_US.UTF-8"
    are supported and installed on your system.
perl: warning: Falling back to the standard locale ("C").
locale: Cannot set LC_CTYPE to default locale: No such file or directory
locale: Cannot set LC_MESSAGES to default locale: No such file or directory
locale: Cannot set LC_ALL to default locale: No such file or directory
解决方案1:
nano /root/.bashrc在最底部添加上一句
export LC_ALL=C或者直接运行
echo "export LC_ALL=C" >> /root/.bashrc然后执行一下:
source /root/.bashrc2
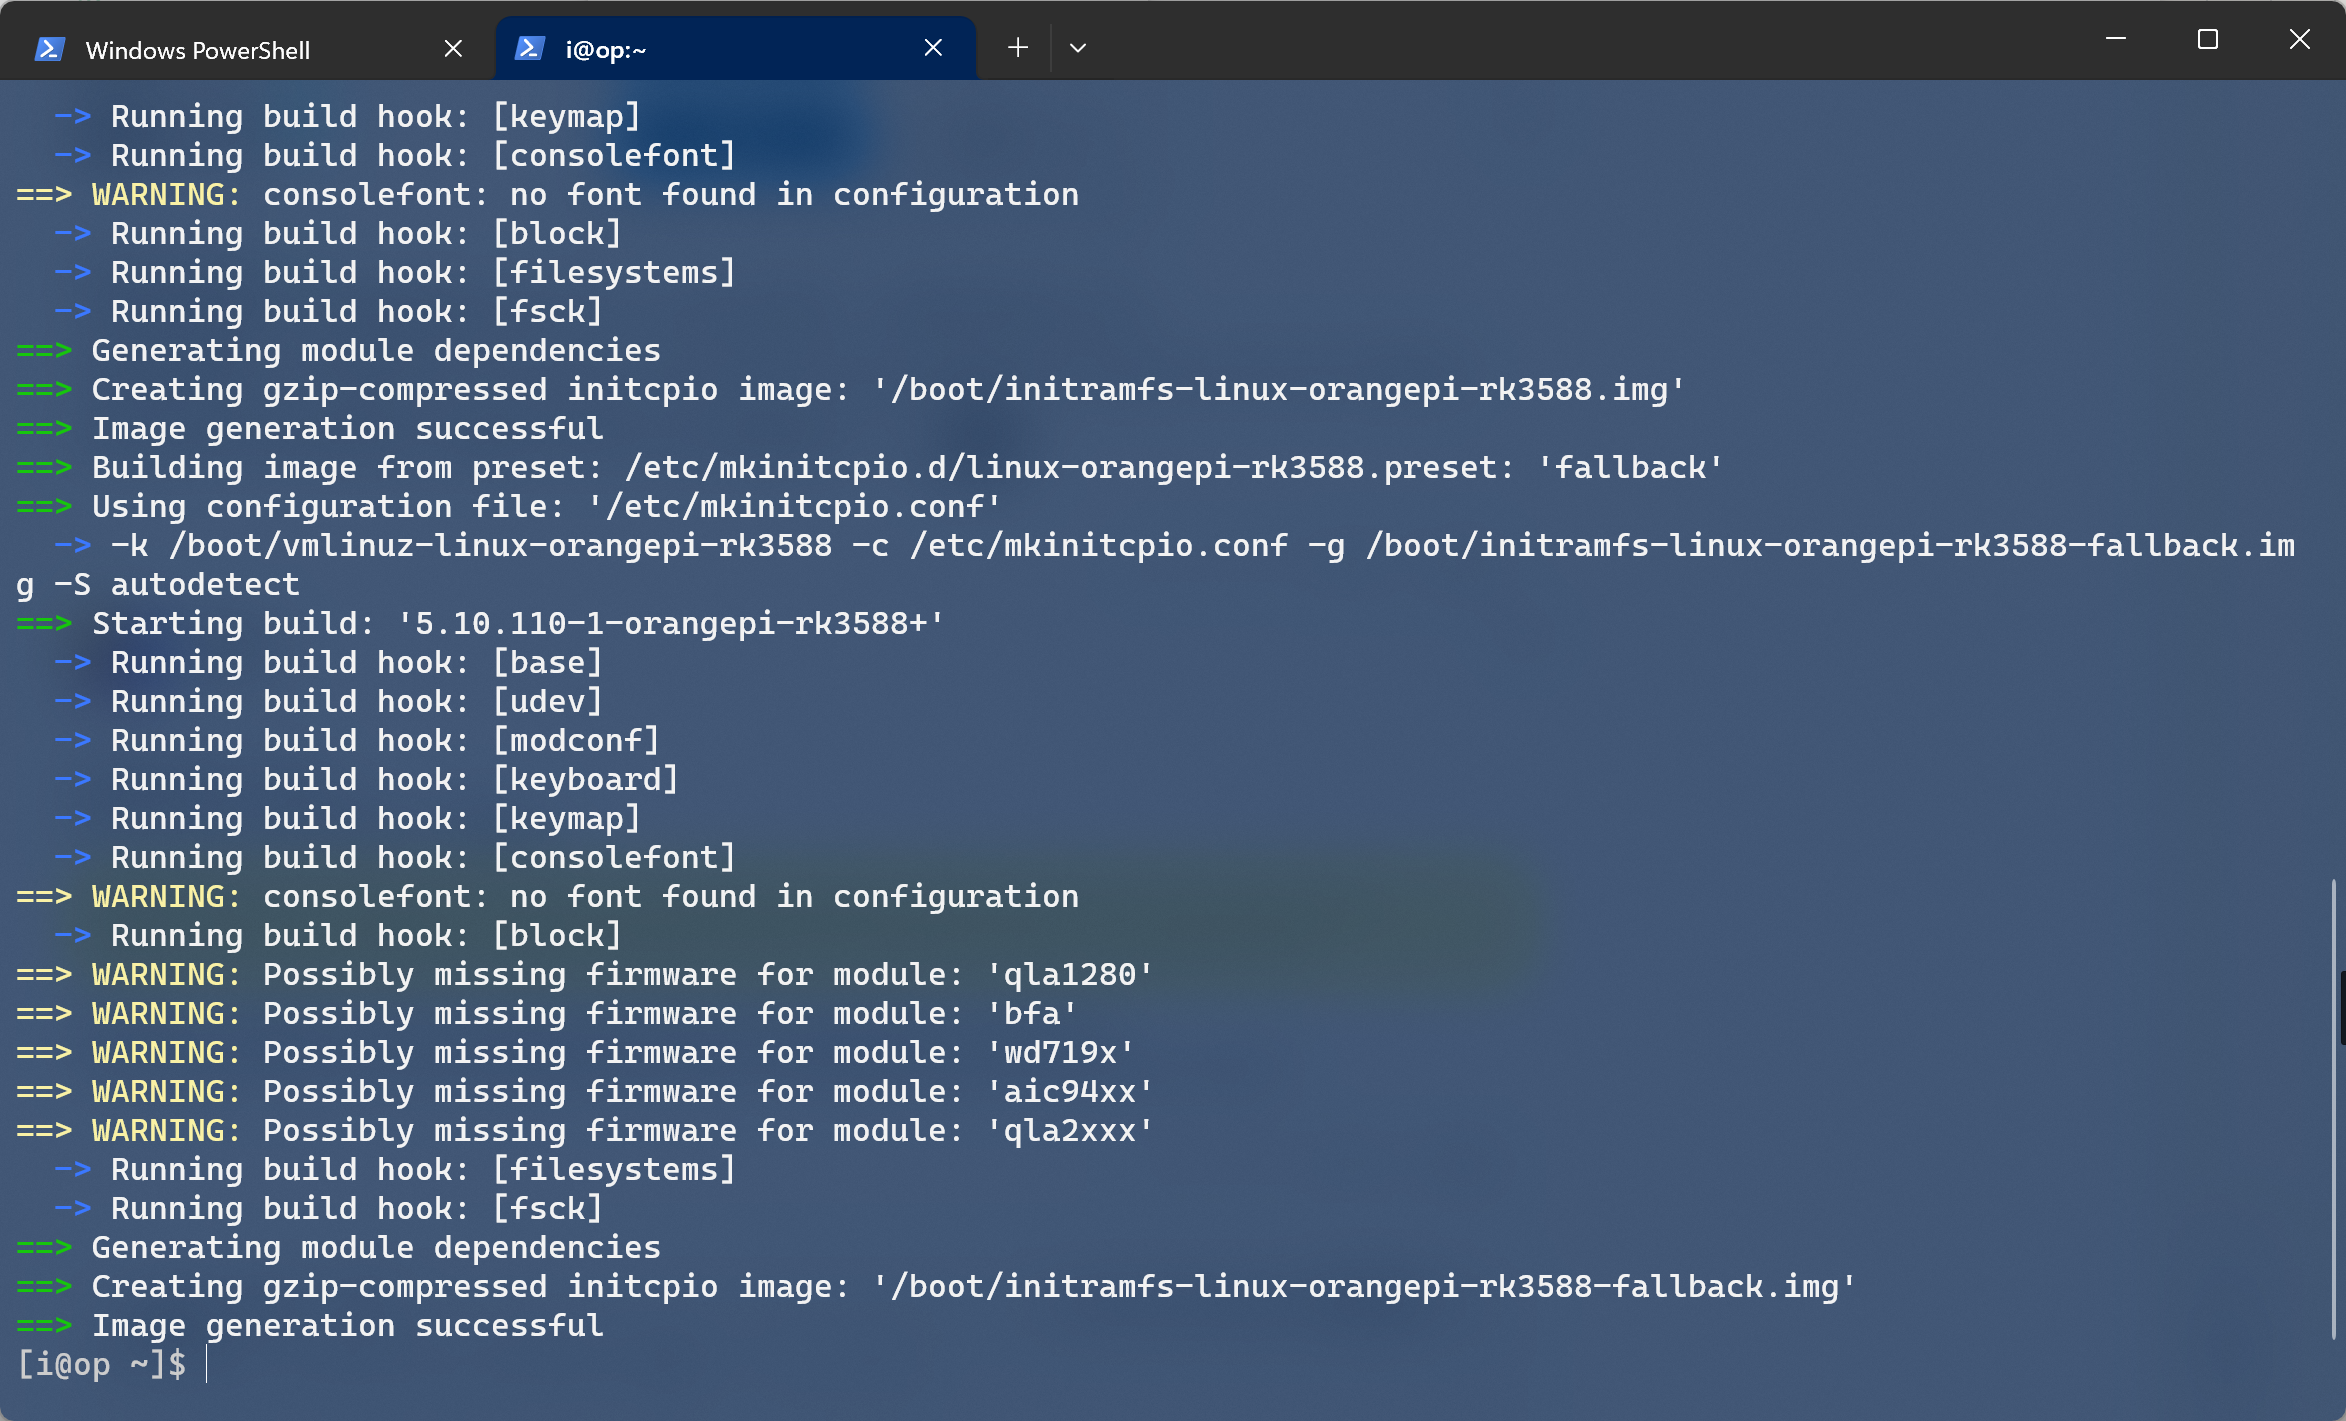
When you install/update linux kernel you can see these missing firmware warnings. These drivers are not necessary to run your system, at some point they where excluded from kernel. If these errors disturb you then you can get them from user repositories. The wd719x is a driver for “Western Digital WD7193, WD7197 and WD7296 SCSI cards” and aic94xx is the driver for “Adaptec SAS 44300, 48300, 58300 Sequencer”.
解决方案2:
# Download the missing firmware using your favourite AUR package manager.
yay -S aic94xx-firmware wd719x-firmware

# When you run kernel install again, you should not see the error any more.
yay -
S linux
安装上面这些你添加Arch Linux中文源也可以直接用pacman安装
3
解决方案2中的yay安装问题
由于yay为第三方包管理器,所以在安装环境中并没有内置所以得自行安装
git clone https://aur.archlinux.org/yay.git
cd yay
makepkg -si由于yay不支持在root环境在运行,你还得新建一个账户不过这个好像得在arch-chroot之后进行(捂脸哭/(ㄒoㄒ)/~~)
说明文件(见下)两种都可以,但是yay就是不支持在root环境在运行,而且你用pacstrap也不行啊,我突然想到
To install other packages or package groups, append the names to the pacstrap command above (space separated) or use pacman while chrooted into the new system. For comparison, packages available in the live system can be found in packages.x86_64.安装
pacstrap -i /mnt base base-devel linux linux-firmware(-i给你有选择的权利,不过还是默认的好,如有特俗需求可以改)
配置系统
Fstab启动配置文件
genfstab -U /mnt >> /mnt/etc/fstabChroot
切换root环境目录
arch-chroot /mnt设置时区
ln -sf /usr/share/zoneinfo/Asia/Shanghai /etc/localtime同步系统时钟到硬件
这对某些程序来说很好
hwclock --systohc更改镜像源地址
见上
配置语言
nano /etc/locale.gen在文件中找到zh_CN.UTF-8 UTF-8 zh_HK.UTF-8 UTF-8 zh_TW.UTF-8 UTF-8 en_US.UTF-8 UTF-8这四行,去掉行首的#号,保存并退出。
执行
locale-gennano /etc/locale.conf加入
LANG=en_US.UTF-8如果用中文在某些tty界面会乱码(可以从deepin中学习一下这种配置)
设置主机名
nano /etc/hostname设置hosts
nano /etc/hosts如下
127.0.0.1   localhost.localdomain    localhost
::1         localhost.localdomain    localhost
127.0.1.1   myhostname.localdomain myhostname
If the system has a permanent IP address, it should be used instead of 127.0.1.1.
Initramfs
Creating a new initramfs is usually not required, because mkinitcpio was run on installation of the kernel package with pacstrap.
For LVM, system encryption or RAID, modify mkinitcpio.conf(5) and recreate the initramfs image:
mkinitcpio -P好像在安装时会自动执行然后这里就应该会复现pacstrap的问题3,请解决
设置root密码
passwd安装你熟悉的常用软件
KDE:https://wiki.archlinux.org/index.php/KDE
DDE:https://wiki.archlinux.org/index.php/Deepin_Desktop_Environment
UEFI systems
Note:
It is recommended to read and understand the Unified Extensible Firmware Interface, Partitioning#GUID Partition Table and Arch boot process#Under UEFI pages.
When installing to use UEFI it is important to boot the installation media in UEFI mode, otherwise efibootmgr will not be able to add the GRUB UEFI boot entry. Installing to the fallback boot path will still work even in BIOS mode since it does not touch the NVRAM.
To boot from a disk using UEFI, an EFI system partition is required. Follow EFI system partition#Check for an existing partition to find out if you have one already, otherwise you need to create it.
Installation
Note:
UEFI firmwares are not implemented consistently across manufacturers. The procedure described below is intended to work on a wide range of UEFI systems but those experiencing problems despite applying this method are encouraged to share detailed information, and if possible the workarounds found, for their hardware-specific case. A GRUB/EFI examples article has been provided for such cases.
The section assumes you are installing GRUB for x86_64 systems. For IA32 (32-bit) UEFI systems (not to be confused with 32-bit CPUs), replace x86_64-efi with i386-efi where appropriate.
First, install the packages grub and efibootmgr: GRUB is the bootloader while efibootmgr is used by the GRUB installation script to write boot entries to NVRAM.
Then follow the below steps to install GRUB:
Mount the EFI system partition and in the remainder of this section, substitute esp with its mount point.
Choose a bootloader identifier, here named GRUB. A directory of that name will be created in esp/EFI/ to store the EFI binary and this is the name that will appear in the UEFI boot menu to identify the GRUB boot entry.
Execute the following command to install the GRUB EFI application grubx64.efi to esp/EFI/GRUB/ and install its modules to /boot/grub/x86_64-efi/.
grub-install --target=x86_64-efi --efi-directory=esp --bootloader-id=GRUBAfter the above install completed the main GRUB directory is located at /boot/grub/. Note that grub-install also tries to create an entry in the firmware boot manager, named GRUB in the above example.
Remember to #Generate the main configuration file after finalizing the configuration.
Tip: If you use the option –removable then GRUB will be installed to esp/EFI/BOOT/BOOTX64.EFI (or esp/EFI/BOOT/BOOTIA32.EFI for the i386-efi target) and you will have the additional ability of being able to boot from the drive in case EFI variables are reset or you move the drive to another computer. Usually you can do this by selecting the drive itself similar to how you would using BIOS. If dual booting with Windows, be aware Windows usually places an EFI executable there, but its only purpose is to recreate the UEFI boot entry for Windows.
Note:
–efi-directory and –bootloader-id are specific to GRUB UEFI, –efi-directory replaces –root-directory which is deprecated.
You might note the absence of a device_path option (e.g.: /dev/sda) in the grub-install command. In fact any device_path provided will be ignored by the GRUB UEFI install script. Indeed, UEFI bootloaders do not use a MBR bootcode or partition boot sector at all.
Make sure to run the grub-install command from the system in which GRUB will be installed as the boot looader. That means if you are booting from the live installation environment, you need to be inside the chroot when running grub-install. If for some reason it is necessary to run grub-install from outside of the installed system, append the –boot-directory= option with the path to the mounted /boot directory, e.g –boot-directory=/mnt/boot.
See UEFI troubleshooting in case of problems. Additionally see GRUB/Tips and tricks#UEFI further reading.


