本文最后更新于 2088 天前,其中的信息可能已经有所发展或是发生改变。
我们知道在Ubuntu17.04+中使用了netplan来代替/etc/network/interfaces
那么有两种方法
一:
卸载netplan重新使用interfacesapt-get remove netplan
然后参照/etc/network/interfaces中注释的部分的来做,由于没有Ubuntu的机器,等有了再加
二:
以较出名的he-ipv6为例
1.创建 /etc/systemd/network/he-ipv6.network
[Match]

[Network]
Tunnel=he-ipv6
2.创建 /etc/systemd/network/he-ipv6-tunnel.netdev
[Match]

[NetDev]
Name=he-ipv6
Kind=sit

[Tunnel]
Independent=true
Local=192.168.0.x #Private IP if behind NAT or Public IP without NAT
Remote=184.105.250.46 #Tunnel broker's IPv4 address
TTL=255
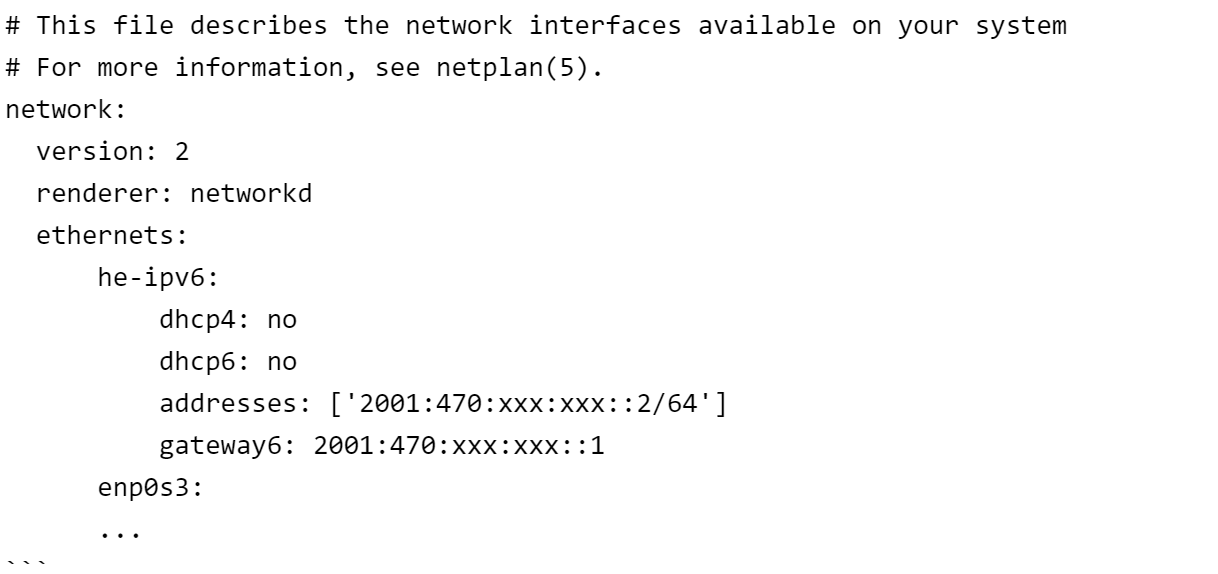
3.配置 /etc/netplan/01-netcfg.yamlnano /etc/netplan/01-netcfg.yaml
使用自己喜欢的编辑器,这里使用nano

# This file describes the network interfaces available on your system
# For more information, see netplan(5).
network:
  version: 2
  renderer: networkd
  ethernets:
      he-ipv6:
          dhcp4: no
          dhcp6: no
          addresses: ['2001:470:xxx:xxx::2/64']
          gateway6: 2001:470:xxx:xxx::1
      enp0s3:
      ...
顺序会有所差别,不过一定要注意格式!
那个dhcp的可要可不要
4.重启网络systemctl restart systemd-networkd && netplan apply
部分来自:https://askubuntu.com/questions/990195/ipv6-tunnel-in-ubuntu-17-10